Practical Lightfastness Tests for Everyday Pigments
Why test lightfastness yourself
Manufacturers publish pigment permanence ratings, but these are often based on accelerated lab tests that may not match how you use a colour. Doing a simple, controlled lightfastness experiment helps you see how a pigment behaves in your actual mixing ratios, supports, and varnishing choices. The goal here is not scientific perfection but repeatable, informative comparisons that influence everyday decisions.
Materials and setup
- Paper or board samples cut to equal size.
- Paints to be tested, applied in typical working strength and, if relevant, in a glaze or thick stroke.
- Masking paper or tape to protect half the sample; a rigid backing to keep samples flat.
- Labels and a waterproof pen to mark dates and paint identity.
- A location with steady light exposure (a bright windowsill or an outdoor covered area) and an indoor control location out of direct light.
Procedure
- Prepare pairs of identical swatches for each pigment and each application method you use (straight paint, mixed with white, glazed mixture).
- Label every swatch clearly on the back so you can track which is which later.
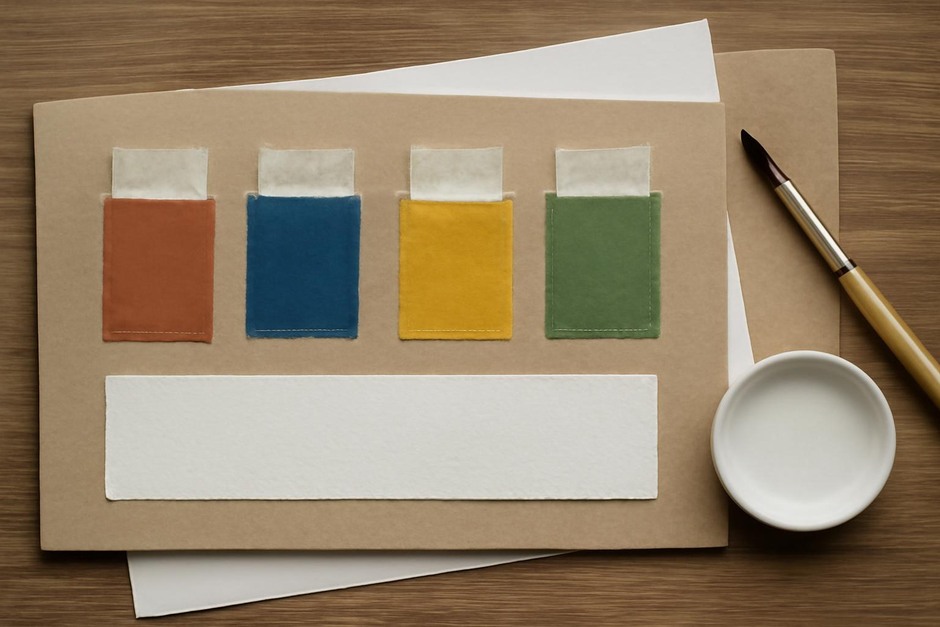
- Affix the pairs so one of each pair is exposed to the chosen light source and the other is protected behind masking paper. Ensure the protective cover blocks light but does not sit directly on the painted surface.
- Photograph the initial condition with a neutral light source and a consistent frame so you can compare images over time.
- Check and document the exposed and protected samples at intervals: one week, one month, three months, and beyond. If you see noticeable change sooner, note it and consider adding more frequent observations early on.
What to look for and how to record it
Note changes in hue, loss of chroma, yellowing of binder, and any surface changes like flaking. Record whether the exposed swatch lightens, darkens, or shifts hue compared with its paired protected swatch. Photographs are valuable, but make written notes about perceived warmth, saturation, and granulation so observations are not limited to camera reproduction.
Interpreting results
A pigment that shifts noticeably over weeks under household light may be unsuitable where longevity is expected. However, consider the intended use: sketches and learning studies often accept some change, while gallery work benefits from pigments with stable behaviour. Also note that mixing a weakly lightfast colour with a strong one can still compromise the overall mix over time.
Controls and repeatability
Keep your test consistent: same substrate, same thickness of application, same distance from the light source, and clear labels. If you introduce varnishes, run parallel tests to see how surface coatings alter results. Repeating the test with different binders (for example, watercolor vs. gouache) will reveal how much the medium, not just the pigment, influences stability.
Using the results in practice
Let your tests inform material choices rather than dictate them absolutely. Use more stable pigments for work intended to last unchanged, and accept less permanence for studies, experiments, or pieces where subtle aging is part of the intent. Over time, a small, personal catalogue of tested pigments will be one of the most practical tools in your studio.